
【RK3566】OBS+Nginx推流,Gst拉流
1. nginx:RTMP服务器搭建
1.1. 下载nginx
https://nginx-win.ecsds.eu/download/

该版本是测试验证过的版本,可以直接使用
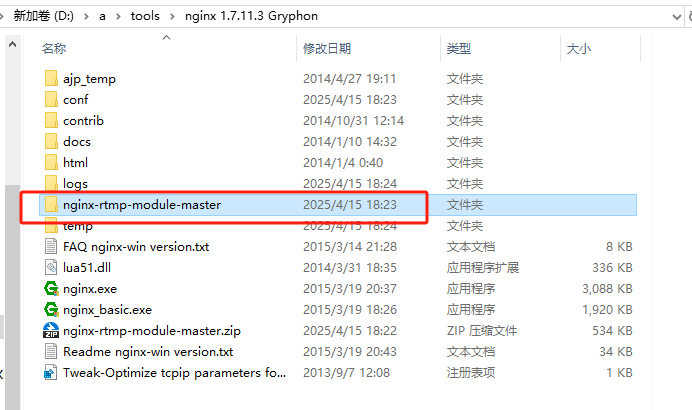
下载完成后解压,解压后的目录命名为 nginx
1.2. 下载nginx的rtmp拓展包
下载链接:https://github.com/arut/nginx-rtmp-module
下载完成后,将解压后的文件夹放入nginx目录下
1.3. 修改配置文件
在conf/目录下,新建一个文件nginx.conf,内容如下:
1 | worker_processes 1; |
该文件主要是直播配置,录播配置、直播回放配置各有不同
1.4. 查看服务器状态
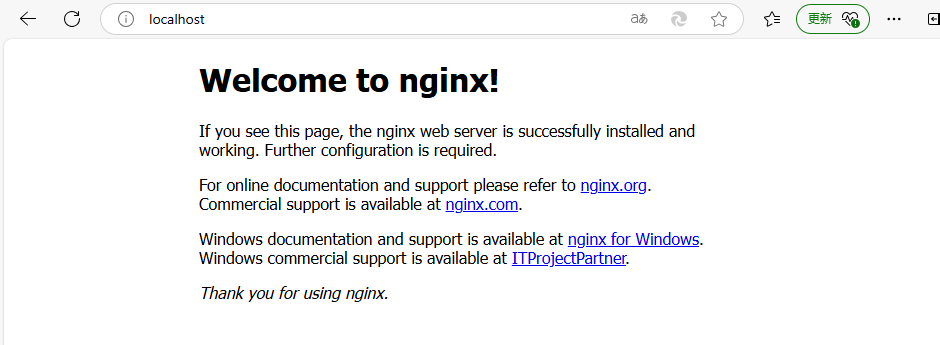
在浏览器输入localhost,若网页出现如下信息,则说明服务器已成功启动。
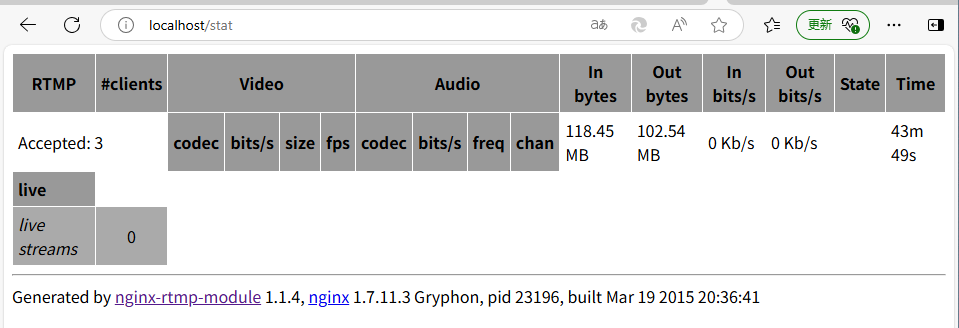
可以通过浏览器访问http://localhost/stat 或者 http://localhost:80/stat 查看服务器状态
2. OBS推流
官网下载地址:https://obsproject.com/zh-cn/download
其它下载地址:http://www.pc6.com/down.asp?id=410276
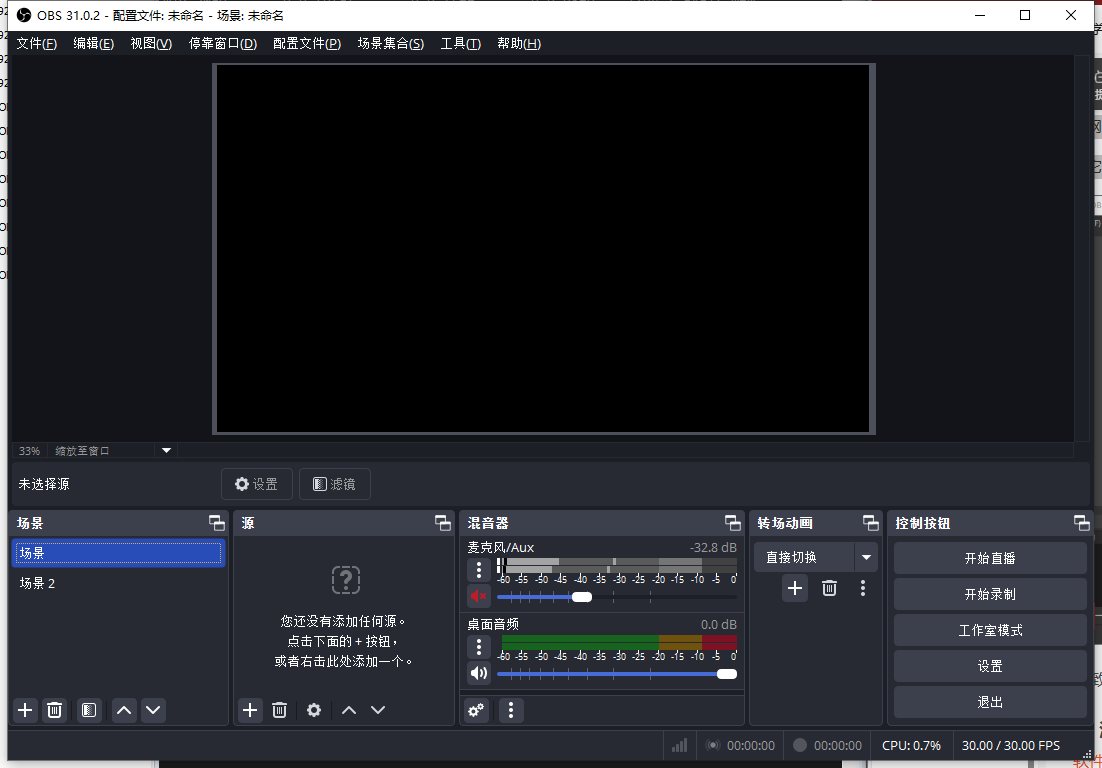
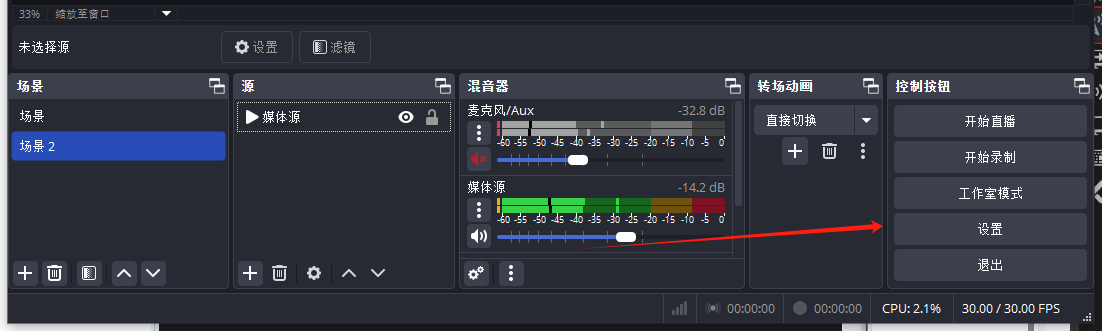
软件大致界面如上
2.1. 添加场景
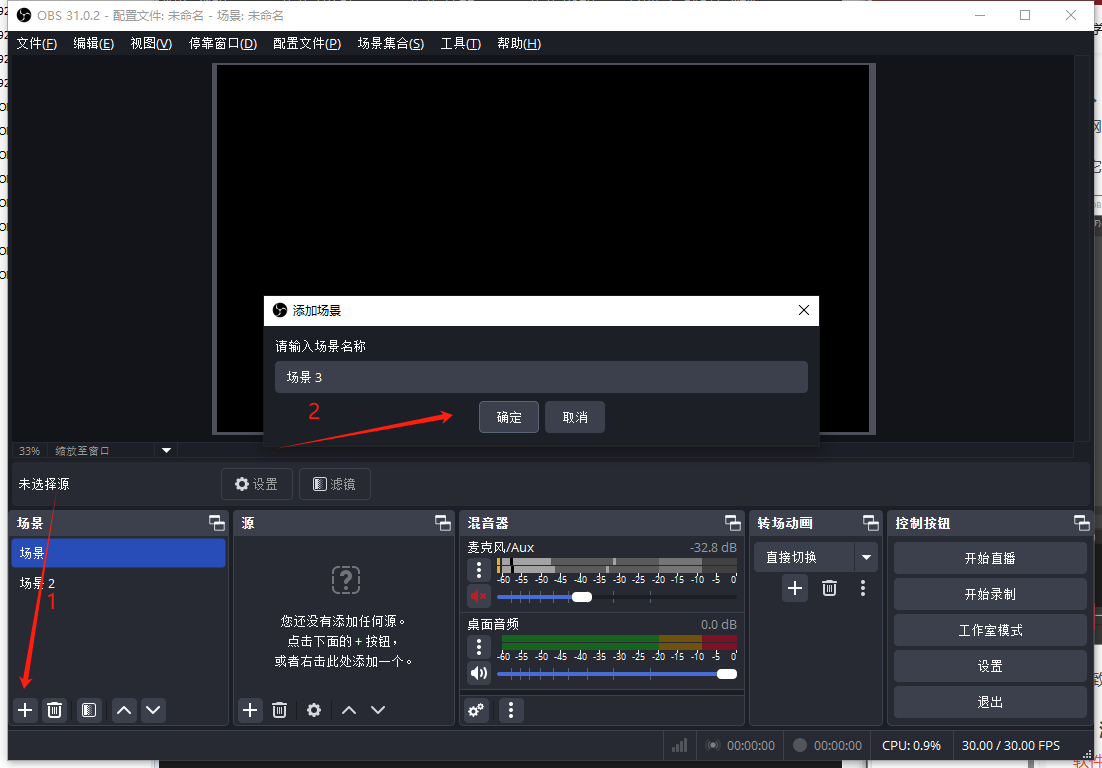
软件默认有一个场景,也可以选择不添加,直接在场景1上配置。
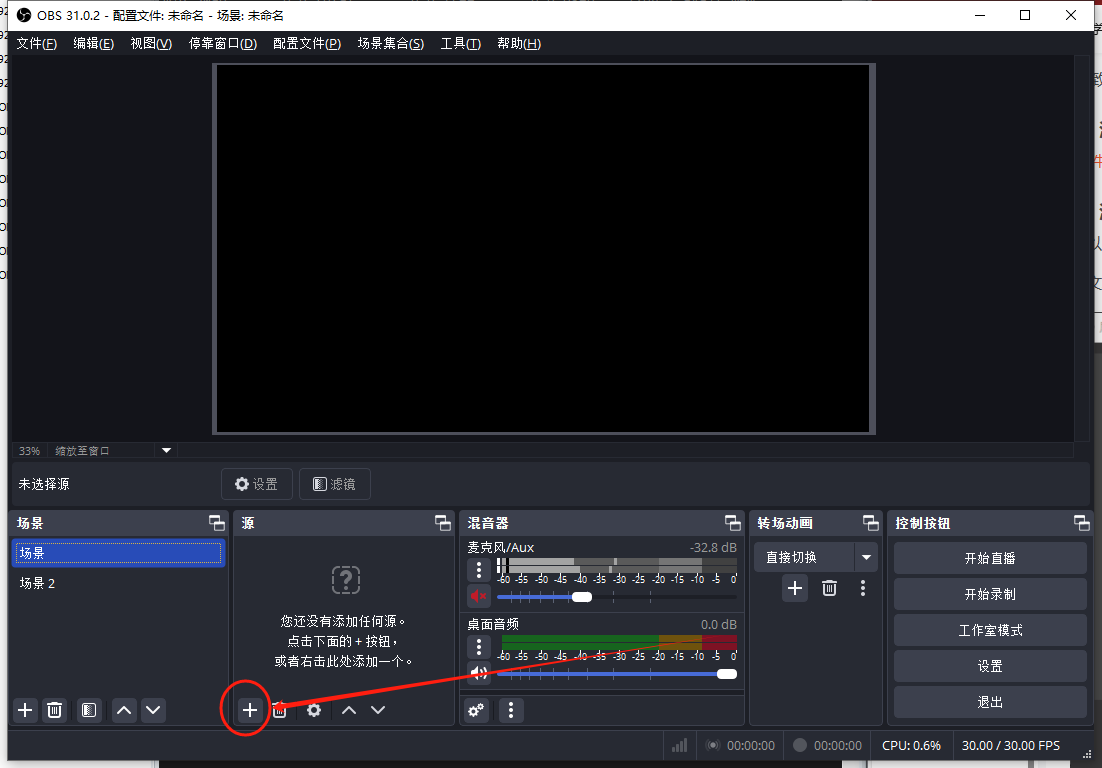
2.2. 添加来源
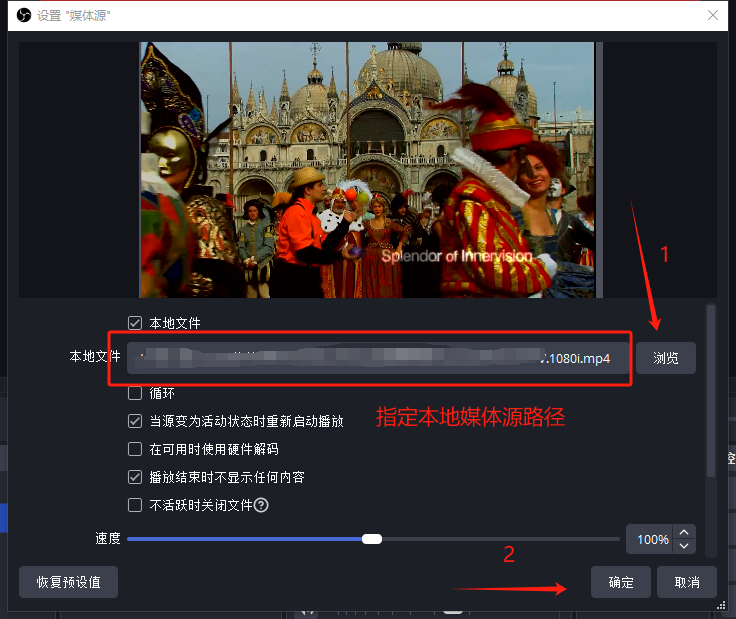
添加流媒体源,可以添加显示器捕获,视频捕获,音频捕获或者本地媒体源等。
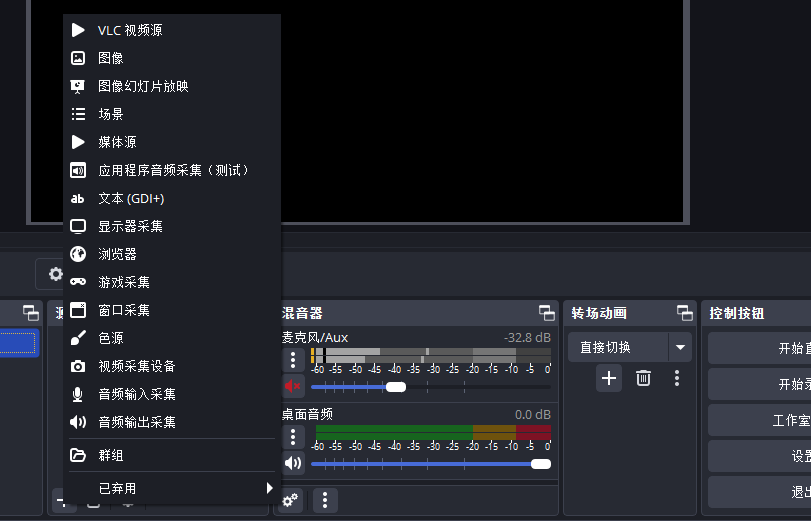
以.mp4作为媒体源为例。
2.3. 推流设置
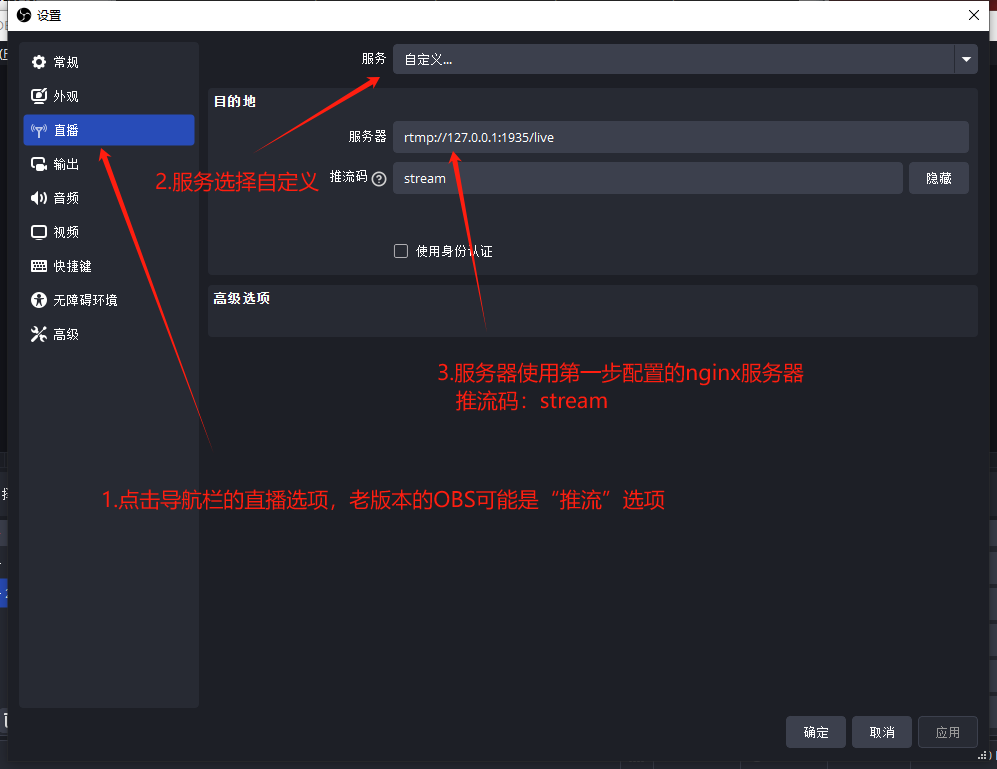
服务 :自定义
服务器 :rtmp://127.0.0.1:1935/live
推流码 :stream
2.4. 开始推流
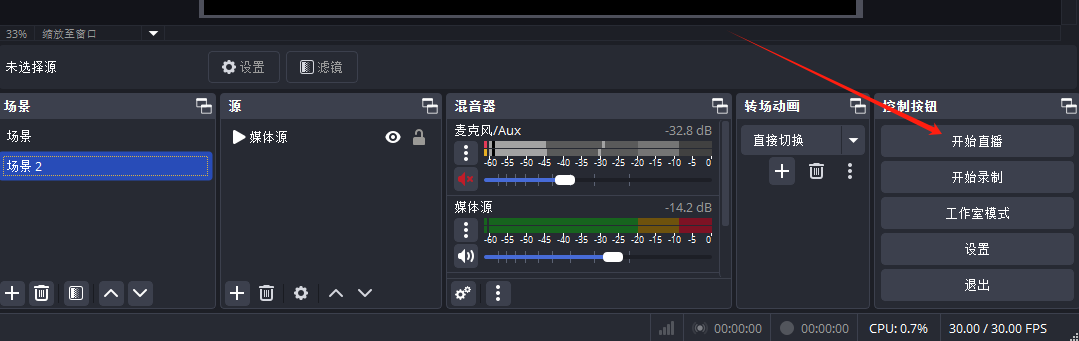
配置完成后,点击开始直播按钮进行推流
3. 开发板拉流
确认开发板与pc端处于同一网段,在开发板通过以下命令进行拉流
1 | gst-launch-1.0 playbin uri=rtmp://192.168.0.42:1935/live/stream |
192.168.0.42为pc端的ip地址,根据实际情况修改
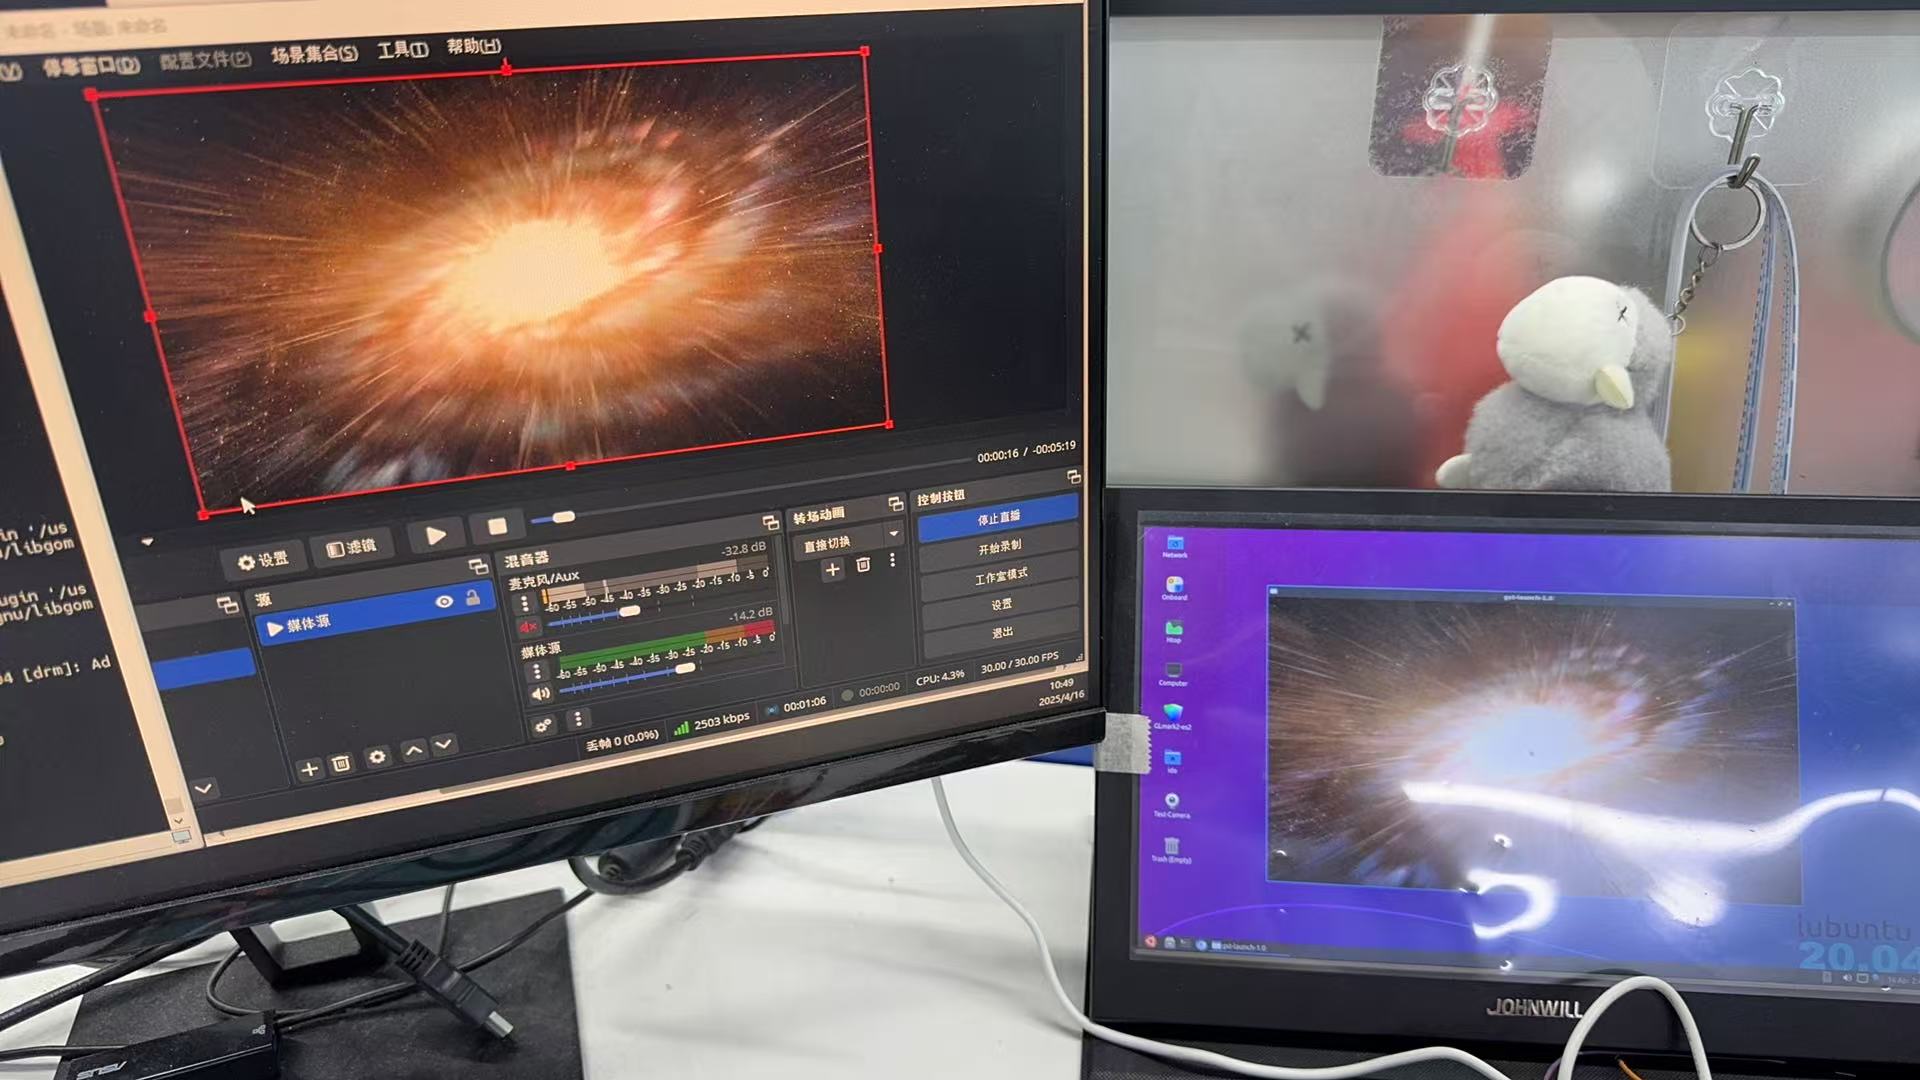
效果如上(实际视频播放可能存在几秒延迟)
All articles on this blog are licensed under CC BY-NC-SA 4.0 unless otherwise stated.